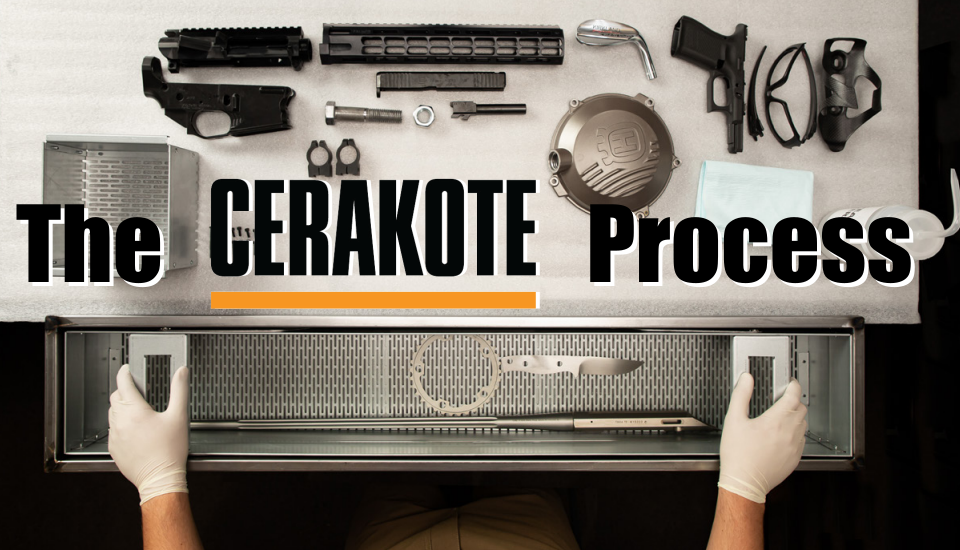
Behind the Scenes: How We Apply Cerakote to Your Firearms
Ever wonder what goes into giving your firearm that sleek, durable Cerakote finish? It’s not just about spraying on a coat of paint and calling it a day. There’s a detailed, precise process behind it, and every step matters to ensure the finish not only looks amazing but also holds up to whatever you throw at it. Here’s a look behind the scenes of the Cerakote process.
1 Disassembly
The first step is breaking down your firearm completely. We disassemble it down to its individual components, ensuring no part is left untouched. If it can be disassembled, it is. This allows us to coat every surface properly and makes reassembly seamless. It’s also crucial for ensuring that moving parts stay functional after the coating is applied. Leaving parts assembled provides areas for grease, oil and media to hide in, causing issues later down the road.
2. Cleaning
Once the firearm is disassembled, we thoroughly clean every part that’s getting coated. This is done in an acetone dunk tank or a ultrasonic cleaner, depending on the material. This step removes oils, dirt, or any residues that could affect the coating process. Cleaning is always done before blasting to keep the blasting media clean and free from contamination.
3. Surface Prep
Now it’s time to prep the surface. A quality job is absolutely dependent on the quality of the prep. Depending on the material, this might mean removing the current coating and blasting the part to bare metal, or, in the case of anodized aluminum or polymer, just lightly blasting to create a surface profile. The goal is to give the Cerakote something to grip onto, ensuring a durable bond. This step also removes any rust or corrosion that may be present.
4. Masking
After prep, any areas that don’t need coating are carefully masked off. This ensures that critical surfaces, like those that interact with other parts, remain free of coating. It’s a tedious but essential step for keeping your firearm functioning perfectly. This step is not always needed, but on some higher end 1911s or bolt actions that have been hand fit to extremely tight tolerances, it’s a necessity.
5. Application
Now comes the fun part: applying the Cerakote. Using a spray gun, we apply the coating in thin, even layers. This ensures a smooth finish that doesn’t interfere with tolerances. We have a ton of color options and can even create custom patterns or designs to make your firearm uniquely yours. (See Gallery) On multiple color jobs, the main layer is sprayed at the usual thickness, then flashed in the oven for 15 minutes to tack off. After cooling, stencils and top layers can be added. The top layers are sprayed much thinner, and only for color, which allows us to still achieve thin coatings on multiple color jobs.
6.Curing
Once coated and flashed off, any masking and stencils are removed, then the parts go into a curing oven where the Cerakote hardens. The curing process locks in the durability and toughness Cerakote is known for, making it resistant to scratches, chemicals, and wear. Generally, this is a 2 hour process.
7. Reassembly
With the coating cured, we carefully check the parts for coverage and quality, and reassemble your firearm. This step involves a thorough check to make sure everything fits and functions perfectly. If it’s not 100%, it doesn’t leave our shop.
Why This Process Matters
The Cerakote process isn’t something we rush through. Every step is designed to ensure the final product not only looks incredible but also stands up to real-world use. Whether you’re customizing your firearm or protecting it from the elements, this process delivers a finish that lasts.
Have questions about Cerakote or want to discuss your next project? Contact us—we’d love to help!
Still wanna know more? Check out Cerakote’s H Series application guide for the nitty gritty, and The Art and Science of Cerakote.
~Sam
