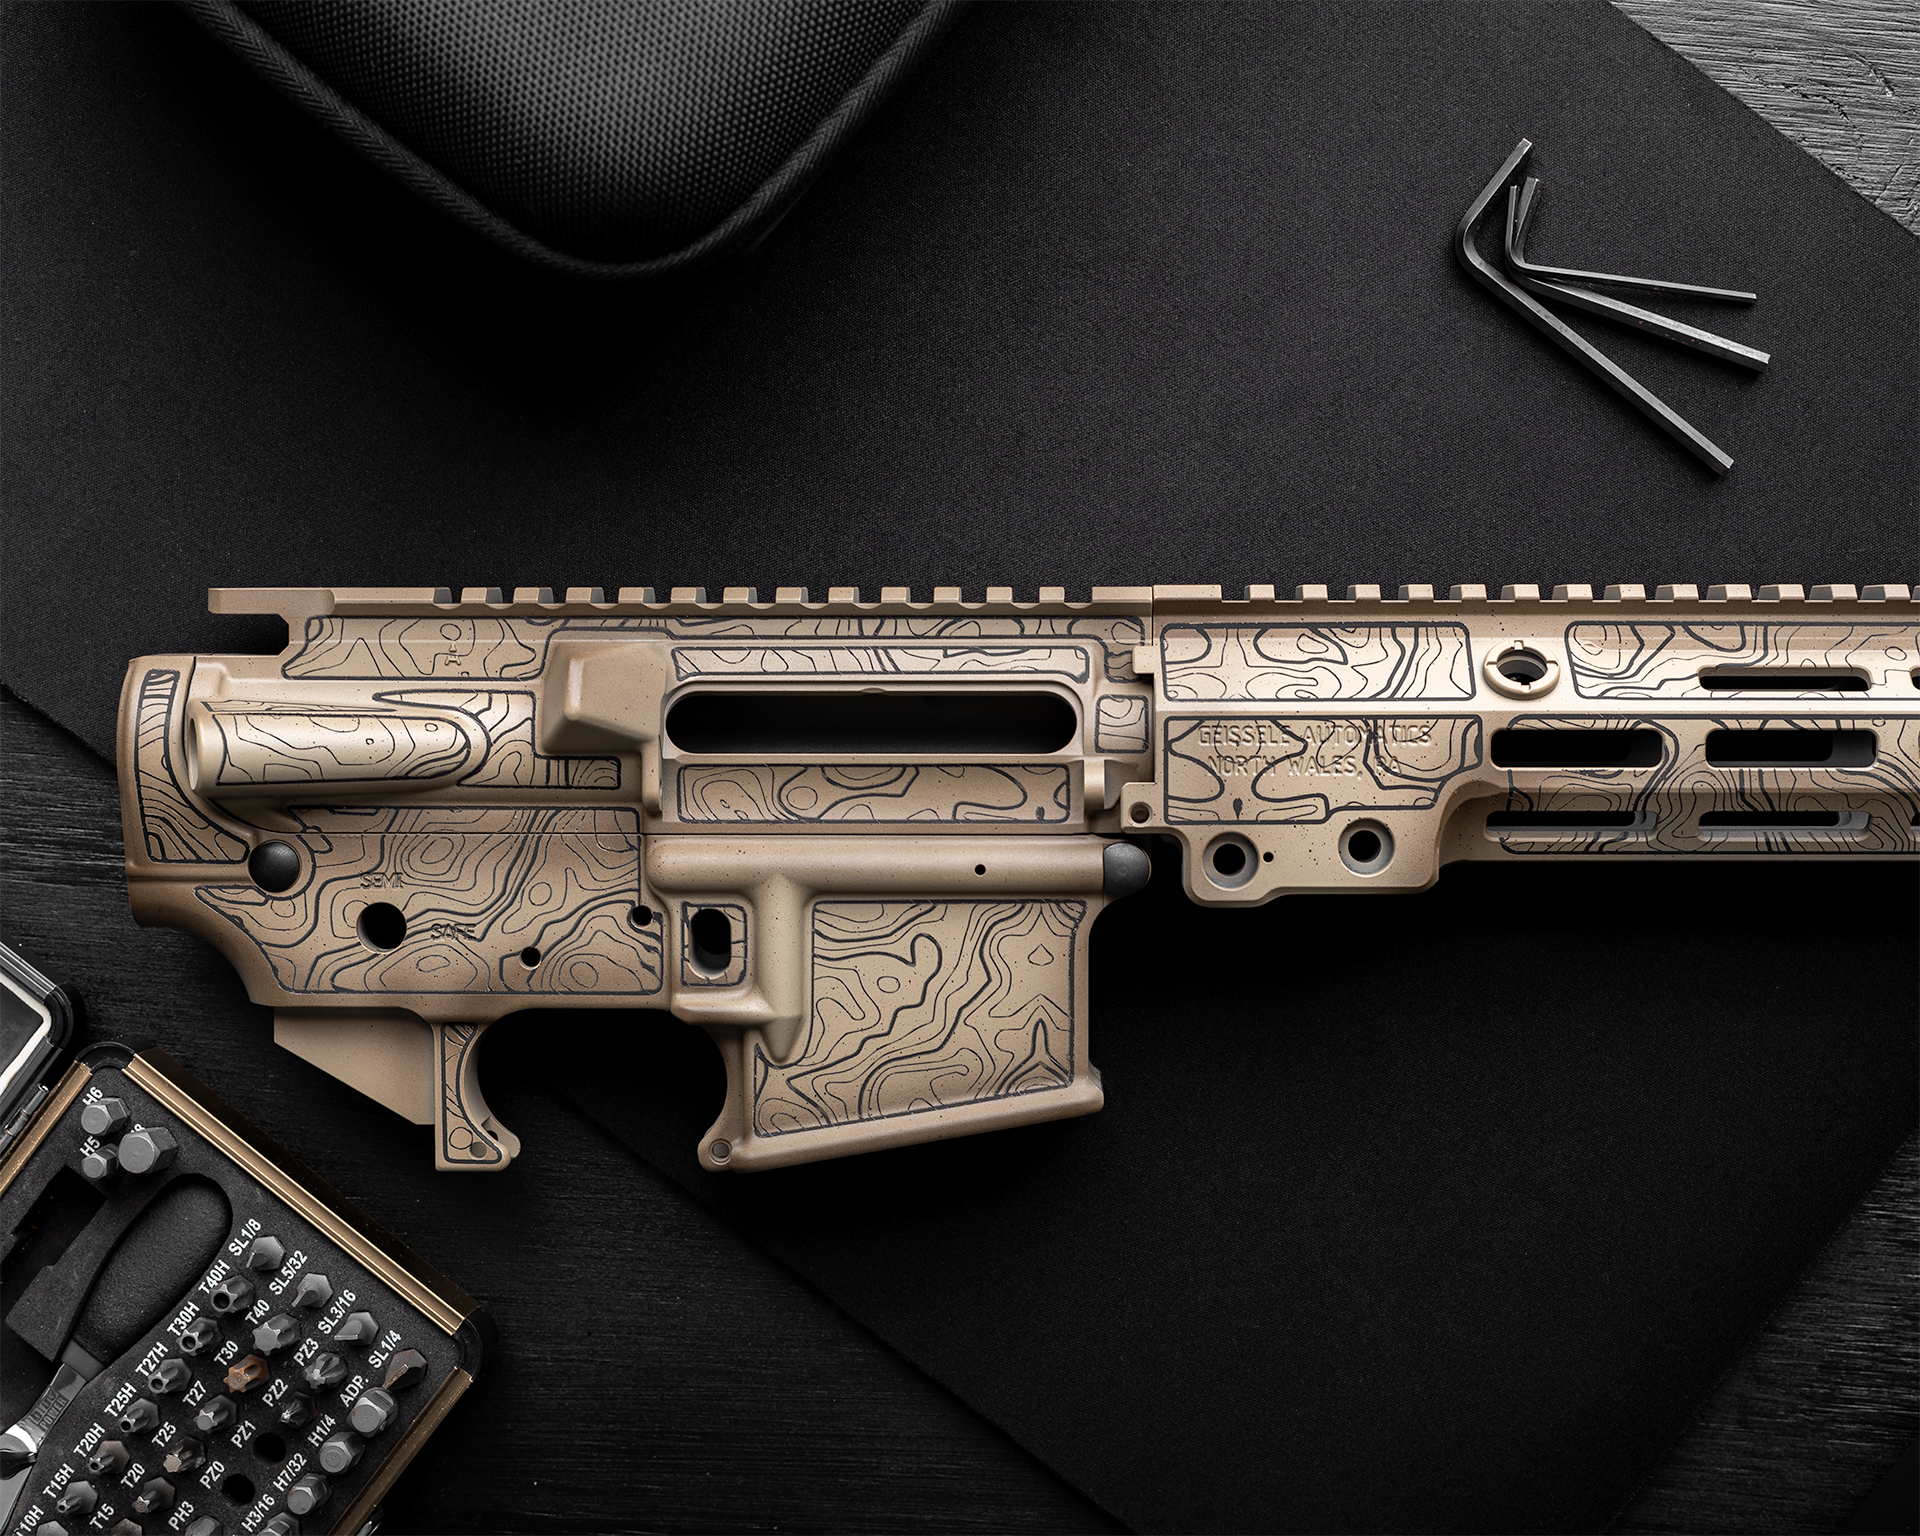


Lately, we’ve been diving into topographic Cerakote, and it’s easy to see why it’s such a crowd favorite—it looks so dang sharp. This technique combines precision, creativity, and a little bit of science to produce awesome results. If you’ve been following our work on Facebook, you’ve probably seen a few examples in our gallery.
The usual method we’ve been using for topographic Cerakote involves spraying one or two colors, then adding darker outlines to define the lighter tones. Afterward, a laser is used to bleach the Cerakote, changing the color. Basically, it burns the cerakote slightly, leaving all the protective properties, but slightly changing the color in that specific area. While this method looks great, certain color combinations, like tan and black, deliver a contrast that is truly badass.
Taking Topographic Cerakote to the Next Level
We wanted to push the boundaries a bit. Instead of the typical single-layer approach, we layered black Cerakote on the base, followed by a tan topcoat, and finished it off with a dark brown outline. Once the layers were flashed, we used a laser to burn through the tan top layer, revealing the black beneath. It’s a process that take a lot of testing to achieve, but it allows you to do far more intricate work that the usual methods just using stencils can ever achieve.
This process wasn’t without its challenges. Unlike flat surfaces, uneven levels on the firearm can make consistency a little trickier. And while the design speaks for itself, we owe a big shoutout to Ballistic Imagery for capturing these pieces so beautifully in photos.
What’s Your Take on it?
What do you think of this topographic cerakote style? Is it something you’d rock on your edc, maybe just hang it on the wall, or are you a “guns are black” kinda guy? Let us know below.
~Sam
